

So, can you really grow a whole new tree just from a branch?
The answer is a resounding yes. It’s a classic gardening technique called propagation, and it’s basically like cloning your favorite tree. This is how you create a new one that’s a perfect genetic copy of the parent. It’s a fantastic way to replicate a tree you love without the guesswork of starting from a seed.
The Magic of Cloning Your Favorite Tree
Growing a tree from a cutting is more than just a cool, budget-friendly project—it’s how you preserve the exact traits of a plant you absolutely love.
Maybe it’s the stunning blooms on a specific crape myrtle or the unbelievably sweet fruit from a neighbor’s fig tree. Propagation guarantees that new tree will be a perfect replica. You get to skip the genetic lottery that comes with seeds, which can produce something totally different from the parent plant.
When you take a cutting, you’re literally creating a clone. For gardeners here in Georgia, this has some serious perks:
- You Know What You’re Getting: The new tree will have the same look, growth habits, and even the same resistance to local pests and diseases.
- A Head Start on Growth: Trees started from cuttings almost always mature faster, meaning you’ll see flowers or fruit much sooner than you would with a tree grown from seed.
- It Saves Money: This is a nearly free way to add more trees to your yard, especially if you get a cutting from a friend (just be sure to ask first!).
The real beauty of propagation is its power to duplicate what already works. If a tree is thriving in our local Atlanta climate, its clones are set up for the same success. It takes all the guesswork out of picking new plants for your landscape.
It’s All About the Timing: Understanding Cutting Types
A lot of the success in this process comes down to timing. The kind of cutting you should take depends entirely on the tree’s growth stage throughout the year. There are three main types you need to know: softwood, semi-hardwood, and hardwood.
Each type has a sweet spot—a specific window when it’s most likely to grow roots. For example, softwood cuttings are taken from that fresh, flexible new growth you see in the spring. As summer rolls on, that same growth toughens up a bit and becomes semi-hardwood. Finally, during the winter when the tree is dormant, you can take hardwood cuttings from the mature, woody stems.
Knowing which one to take and when is the first, most crucial step to success.
To make it easier, here’s a quick guide to help you figure out what to cut and when.
Choosing the Right Cutting at the Right Time
| Cutting Type | Best Time to Collect | Branch Characteristics | Common Tree Examples |
|---|---|---|---|
| Softwood | Late Spring to Early Summer | New, flexible green stems that bend easily | Crape Myrtle, Magnolia, Weeping Willow |
| Semi-Hardwood | Mid-Summer to Early Fall | Partially mature, firm stems that are still a bit flexible | Dogwood, Holly, Camellia |
| Hardwood | Late Fall to Late Winter (Dormant Season) | Mature, woody, and rigid stems from last season’s growth | Fig, Leyland Cypress, Juniper |
Think of this table as your cheat sheet. Matching the cutting type to the season and the tree you’re working with dramatically increases your chances of seeing new roots form.
How to Take Cuttings That Actually Work
If you want to grow a tree from a branch, your success starts and ends with the quality of the cutting you take. A weak, diseased, or poorly chosen stem is practically doomed from the get-go. So, the very first thing you need to do is give the parent tree a good, hard look. You’re searching for vigorous, healthy branches showing strong growth from the current season.
Steer clear of any branches with tell-tale signs of stress—yellowing leaves, weird spots, or insect damage. You need a specimen that represents the absolute peak health of the parent tree. This is what gives your new plant the best possible genetic foundation to build on.
Choosing Your Tools and Making the Cut
The tools you use are every bit as important as the branch you select. Grab a pair of sharp, clean pruning shears or a dedicated knife. Before you make a single cut, sterilize your tool with rubbing alcohol. This is a non-negotiable step; it prevents you from accidentally transferring diseases to the fresh, vulnerable wound of your cutting.
Once you’ve zeroed in on the perfect branch, you’ll want to take a cutting that’s between 6 and 12 inches long. Here’s a classic gardener’s trick to remember which end goes down into the soil:
- Make an angled cut at the base: Slice the bottom of the stem at a 45-degree angle. This simple move seriously increases the surface area available for root development.
- Make a flat cut at the top: A straight, clean cut across the top of the stem helps seal the wound quickly and keeps it from losing too much moisture.
This angled-bottom, flat-top technique is foolproof for orientation. Timing is also everything. Knowing the best time to prune trees gives you a massive advantage, as it aligns with the tree’s natural growth cycles and when it’s best prepared for this kind of work.
Preparing the Cutting for Rooting
With the cutting in hand, a few extra prep steps can dramatically boost your chances of success. First, carefully strip the leaves off the bottom half of the stem. Any leaves left below the soil line will just rot, inviting harmful bacteria and fungi that can kill your cutting before it ever has a chance.
Next, you’ll want to gently wound the base. Take your clean knife and lightly scrape off a thin, one-inch strip of the outer bark on two sides of the angled base. This exposes the green cambium layer just underneath—that’s where the new roots will actually emerge from. It might seem small, but this step is one of the most effective ways to trigger root formation.
The process flow below shows how cuttings change with the seasons.
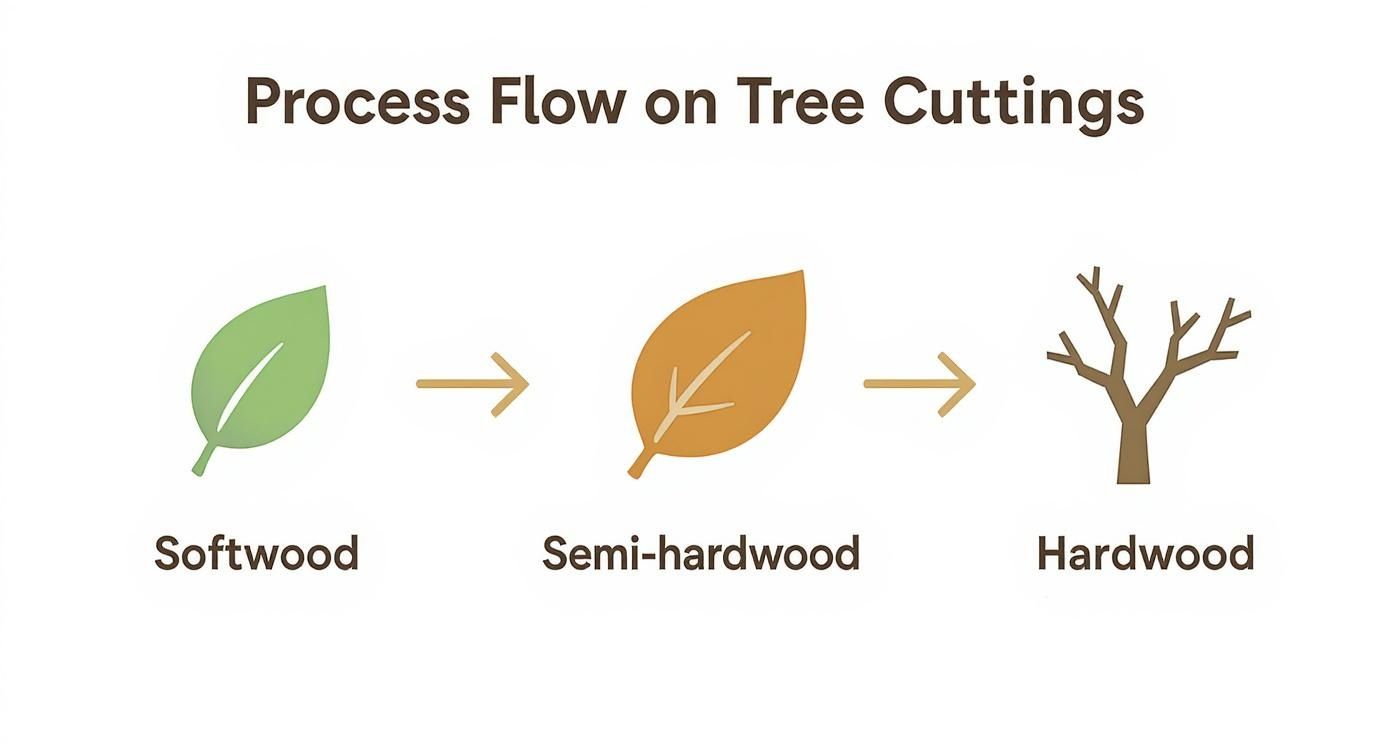
This visual helps you identify the right material, whether it’s new, green softwood in the spring or mature, dormant hardwood in the winter. For more detailed instructions on different plant types, there are some great general guides on how to propagate plants from cuttings that can be a big help.
Key Takeaway: The entire project’s success is decided in these first few minutes. A healthy parent tree, a sterile tool, a precise cut, and proper preparation are the four pillars of taking a cutting that will actually grow.
Creating the Perfect Environment for New Roots
Once you’ve got your cutting, the focus shifts entirely. You’re no longer just tending a tree; you’re trying to coax a brand-new life into existence from a single branch. This is where the real magic happens, and getting the environment right is everything. It’s not about just sticking a twig in the dirt—it’s about creating the perfect conditions to encourage a plant to grow a whole new root system from scratch.
Success hinges on a delicate balance of moisture, air, and sometimes a little hormonal boost. Nail this balance, and you’re well on your way to a new tree.
The Role of Rooting Hormone
One of the most valuable tools in any propagator’s kit is rooting hormone. It’s usually a powder or gel that contains a synthetic version of auxin, a natural plant hormone that kicks root growth into high gear. A really effective and widely used type is indole-3-butyric acid, or IBA.
Using it couldn’t be simpler. After you’ve prepared your cutting, just dip the angled base into the hormone powder and give it a gentle tap to knock off the excess. It’s so tempting to load it on, thinking more is better, but that’s a classic rookie mistake. Too much hormone can actually scorch the delicate new tissue and stop roots from forming altogether.
While hormones can be a game-changer, especially for tougher semi-hardwood and hardwood cuttings, they aren’t always necessary. The right environment is far more important for success.
Interestingly, studies on softwood cuttings—those taken from fresh, vigorous growth—have shown they can root incredibly well without any help. Some research has found that softwood cuttings can achieve rooting rates as high as 70–85% in high-humidity setups, with or without IBA. You can discover more insights about these propagation findings and see just how powerful humidity can be.
Choosing the Right Rooting Medium
Your cutting needs a temporary home while it works on growing roots. This “rooting medium” has to provide support while striking that perfect balance between moisture and aeration. Plain old potting soil from the bag is usually too dense and holds way too much water, which is a fast track to rot.
What you really need is a sterile, well-draining mix. A few of my go-to options are:
- Perlite: Those little white volcanic pebbles are super lightweight and create tons of air pockets, which means fantastic drainage.
- Vermiculite: This mineral is great at holding onto moisture without letting the medium get waterlogged or compacted.
- Coarse Sand: Often mixed with peat moss or perlite, it drastically improves drainage.
You can’t go wrong with a 50/50 blend of perlite and peat moss or coco coir. This mix holds just enough moisture to keep the cutting happy but lets the excess drain away, which is key to preventing stem rot.
Mastering Humidity and Watering
This might be the most critical piece of the puzzle: humidity. A cutting has no roots to drink up water, so it can dry out and die in the blink of an eye. The goal is to create a humid little microclimate around it to stop moisture from escaping through its leaves.
The easiest way to pull this off is by making a mini-greenhouse. Just tent a clear plastic bag over the pot, or even place the top half of a soda bottle over the cutting. This traps moisture and keeps the humidity sky-high right where you need it.
Watering is the other half of the equation. You want the rooting medium to stay consistently moist, but never soggy. The best way to check is with your finger. Stick it an inch into the medium. If it feels dry, give it a little water. If it still feels damp, hold off for another day. Overwatering is the number one killer of cuttings, so when in doubt, it’s always better to be a little too dry than a little too wet.
Best Trees for Propagation in the Atlanta Area
Figuring out how to grow a tree from a branch is a huge step, but it’s only half the battle. To really get it right, especially here in Atlanta, you have to know which trees are actually willing to play along.
Our local climate, with its signature heat and humidity, can be both a blessing and a curse. It might speed up growth, but it also creates the perfect environment for fungus and rot if you’re not on top of things.
Your best bet for success is to start with the right species. Some trees practically jump at the chance to root from a cutting, while others will test the patience of even the most seasoned gardener.
Top Performers in Georgia’s Climate
If you’re just getting started, I’d strongly suggest picking from the “easy” list. These trees are known performers in our region and are generally pretty forgiving if you make a few mistakes. They’re perfect for building up your confidence.
- Crape Myrtles: A true icon of the South for a reason. Crape Myrtles are shockingly easy to propagate. Your best shot is to take softwood cuttings in late spring or early summer. They root fast and grow with vigor, often giving you a new flowering tree in just a couple of years.
- Willows: Looking for almost instant gratification? Willows are your answer. Their branches are loaded with natural rooting hormones. You can practically stick a hardwood or softwood cutting in a glass of water or some moist soil and see roots pop out within weeks.
- Dogwoods: Propagating our beloved state tree, the flowering dogwood, is an incredibly rewarding project. The sweet spot is taking semi-hardwood cuttings right in the middle of summer. They take a bit more patience than willows, but they’re a fantastic native choice for any landscape. You can explore more great local species in our guide to the common types of trees in Atlanta.
More Challenging (but Rewarding) Projects
Once you’ve got a few wins under your belt, you might feel the urge to try propagating some of Georgia’s magnificent native hardwoods, like oaks. Let me be clear: this is a real challenge. These trees are notoriously stubborn about rooting from cuttings.
Propagating a mighty oak from a cutting is the ultimate test of a gardener’s skill. It demands perfect timing, an ideal environment, and a healthy dose of luck, but the reward is a clone of a truly majestic native tree.
It’s not impossible, though. Some research shows that using softwood cuttings from very young oak trees can hit rooting rates between 35% and 80%—but that’s under perfect lab conditions. Trying to match that success in a home garden is a tall order.
The key here is managing your expectations. A willow might root in a jar on your windowsill, but an oak cutting is going to demand a sterile rooting medium, consistent high humidity, and probably some bottom heat just to have a fighting chance.
Troubleshooting Common Cutting Problems
Even with the best game plan, trying to grow a tree from a branch can feel like a bit of a science experiment. It’s easy to get discouraged when things go wrong, but trust me, most problems are common and totally fixable. Think of these issues less as failures and more as your cuttings telling you what they need.
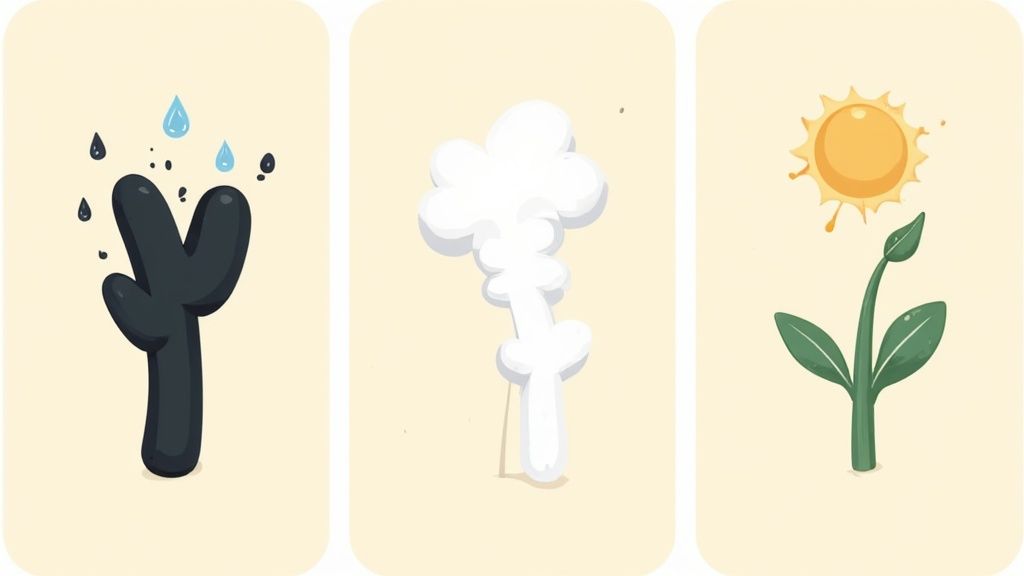
Catching trouble early is really the key to turning a struggling cutting into a brand-new tree. Let’s walk through the most frequent hurdles I see and figure out how to get past them.
Diagnosing Rot and Mold
One of the most common—and disheartening—sights is a cutting with a black, mushy stem base. That’s stem rot, and nine times out of ten, it’s caused by too much water. Your rooting medium needs to be consistently moist, but never, ever waterlogged. Soggy conditions literally suffocate the stem and create a perfect breeding ground for the fungi that cause rot.
Another frequent visitor is that fuzzy white or gray growth on the leaves or the surface of your soil. That’s mold, and it’s a dead giveaway that you have poor air circulation combined with high humidity. You need the humidity, but stagnant, damp air is a recipe for trouble.
Here’s how to fight back against these fungal issues:
- For Rot: If you catch it early, you might be able to save the cutting. Pull it out, trim off the rotted section with a sterile knife, and let it air dry for a few hours until a callus forms. Then, re-apply your rooting hormone and stick it in some fresh, less-saturated medium.
- For Mold: Get some air moving, stat. If you’re using a plastic bag or a dome to create a greenhouse effect, take it off for about an hour each day. This simple step often clears up minor mold issues without sacrificing the humidity your cutting needs.
The most important thing to remember is that overwatering is the #1 killer of cuttings. If you’re ever in doubt, it’s always better for the medium to be a little too dry than even slightly too wet. Good drainage isn’t just a suggestion; it’s a requirement.
Addressing Wilting and Stalled Growth
What if your cutting just… sits there? It’s been weeks, and nothing is happening. Or worse, it starts to wilt and look droopy. Wilting is a classic sign that the cutting is losing water through its leaves faster than it can absorb it. This usually points to one of two things: not enough humidity or too many leaves left on the stem.
If a cutting flat-out refuses to root after several weeks, the issue might be something else—like temperature, light, or even the cutting material itself. Not all branches have what it takes, and some just don’t have the energy to push out new roots.
That said, if you know your setup is right, patience is the name of the game. Some hardwood cuttings can take months to show the first sign of life, so don’t give up too soon
When to Call in the Pros for Tree Care
Trying to grow a new tree from a branch is an incredibly satisfying project, but it’s important to know where your DIY gardening efforts should stop and where professional tree care needs to take over. Learning to propagate is a fantastic skill, but it’s a completely different discipline from managing the health, safety, and long-term vitality of the mature trees already standing on your property.
The success of your cuttings hinges entirely on the health of the parent tree. If you’re looking at a tree and can’t tell if it’s healthy enough to take cuttings from, or if you’re spotting signs of disease, stress, or dead branches, that’s your cue to pause. This is exactly when you need a professional’s eye.
Knowing the Difference: DIY Propagation vs. Professional Arboriculture
A certified arborist does so much more than just trim a few branches. Think of them as tree doctors. They can diagnose complex problems that are often invisible to the untrained eye, from deep-seated root rot to subtle nutrient deficiencies that are stressing the tree out. Their expertise is absolutely critical for ensuring the health of the very trees you’re hoping to propagate.
Here’s an easy way to think about it:
- Hobby propagation is all about creating new life from a perfectly healthy source.
- Professional arboriculture focuses on keeping that source tree healthy, safe, and structurally sound for the long haul.
If you have a large branch that needs to be removed to improve the tree’s structure, or if you’re worried about heavy limbs hanging over your house, this is absolutely not a DIY job. An arborist has the specialized equipment and, more importantly, the training to perform this work safely—without damaging the tree or your property. You can learn more about the vital role of a certified arborist in Atlanta and see how they protect your landscape’s biggest investments.
Advanced Techniques Like Grafting
Beyond taking simple cuttings, arborists often use more advanced propagation methods like grafting. This is a highly skilled technique that involves joining the tissue of two different plants so they fuse and grow together as one. It’s often used to combine the strong, disease-resistant rootstock of one tree with the beautiful flowers or delicious fruit of another.
This method takes incredible precision, but the results are built to last. For instance, one long-term study on curly birch trees found that grafted specimens had a remarkable survival rate of 73% after nearly 30 years. That kind of success shows the lasting power of professional techniques, which you can read more about in the full research.
By investing in professional care for your mature trees, you’re not just preserving their beauty and safety. You’re also ensuring you have a prime, healthy source for all your future propagation projects for years to come.
At the end of the day, knowing when to call for help is just as important as knowing how to snip a cutting. For the simple joy of creating new plants, your gardening skills are perfect. But for the foundational health and safety of your large, established trees, a certified arborist is your most essential partner.
When your tree care needs go beyond a simple cutting, trust the experts who have served the Atlanta area since 1985. Contact Richmond Tree Experts GA today for a consultation and ensure your trees are in the best possible hands. https://richmondtree.com
Need a tree taken down safely? Richmond Tree Experts has worked on Marietta and Metro Atlanta trees since 1985, and every job is looked at by an ISA Certified Arborist before it is priced. Start with tree removal, or see everything we do: tree removal, stump grinding and arborist services across Cobb, Fulton, Cherokee, Gwinnett and DeKalb counties (service areas).
Call (770) 974-3964, 7am to 11pm every day, or request an estimate online.

