

Before you even think about moving a single stone, the success of your rock landscape is already being decided. It all starts with a smart, deliberate plan. A truly beautiful and sustainable design hinges on understanding your property's unique personality and applying some core design principles.
This initial blueprint is all about analyzing sunlight, drainage, and the natural flow of your yard to create a foundation that’s both functional and looks incredible.
Building Your Rock Landscape Design Blueprint
Every great rock landscape design begins not with heavy lifting, but with a good walk around your property and some thoughtful planning. This is where you take that vision in your head and turn it into a practical strategy that actually works with the land you have.
The goal here is to build a solid foundation. One that ensures your new landscape isn't just beautiful for a season, but is sustainable and genuinely low-maintenance for years to come. This is about creating a cohesive ecosystem, not just picking out pretty stones.
You’ll want to consider a few key things:
- Site Analysis: Where does the sun hit throughout the day? Where does water pool up after a hard rain? Nailing these patterns down now helps you pick the right plants and saves you from major drainage headaches later.
- Design Principles: How are you going to create balance and visual interest? This is the fun part—using scale by mixing large boulders with smaller river rocks, playing with texture, and using color to build a natural-looking scene.
- Creating Focal Points: Every great design needs a star. What's yours going to be? A striking boulder arrangement, a winding dry creek bed, or a perfectly placed specimen plant can all serve as a stunning centerpiece that draws the eye.
Understanding Your Canvas
Grab a notepad or just use your phone and start walking your property. Make a note of the key features you’re working with: existing trees, any slopes, the sunny spots, and the shady corners.
For those of us in the rolling hills of North Georgia—from Cumming to Marietta—understanding how a slope affects water runoff is a big deal for preventing erosion. A simple sketch can be a game-changer, helping you visualize where a dry creek bed could naturally channel water or where a small retaining wall might be needed. For a deeper dive into integrating these elements, check out our guide on inspiring backyard landscape design ideas.
The best rock landscapes feel like they’ve always been there. You want to harmonize with the existing environment, not force a design onto it. That means studying the land's natural contours and letting them guide where you place your most important features.
The Art and Science of Rock Placement
There's a long history behind thoughtfully arranging stones. The practice of creating ornamental rockeries really took off in 19th-century European and North American gardens, and many of the principles they established are still incredibly valuable today.
This tradition is all about balancing scale, texture, and plant life to create a landscape that is both an artistic expression and a functioning ecological system. You can learn more about the history of Victorian and Edwardian landscape artistry if you're curious. By taking the time to plan, you’re honoring this legacy and ensuring your rock landscape is a functional work of art that will thrive for decades.
Choosing The Right Rocks And Plants
The real soul of a rock landscape comes down to the materials you choose. Your specific combination of rocks and plants is what gives the whole space its unique personality, turning a patch of grass into something that feels like a natural retreat. Getting this right is a blend of art and practical know-how, especially here in North Georgia's climate.
This is the point where you truly decide on the feel of your landscape. Are you picturing a calm, Zen-like garden with smooth river rocks? Or maybe something more rugged and mountainous with big, angular granite boulders? Both can look incredible, but they create completely different vibes.
Your decisions here also have a huge effect on your budget and how much work you'll be doing down the road. A little planning now saves a lot of headaches later, ensuring you build a space you love that doesn't become a chore.
This diagram breaks down how the key stages of analysis, design, and function all layer on top of each other to create a successful blueprint for your landscape.
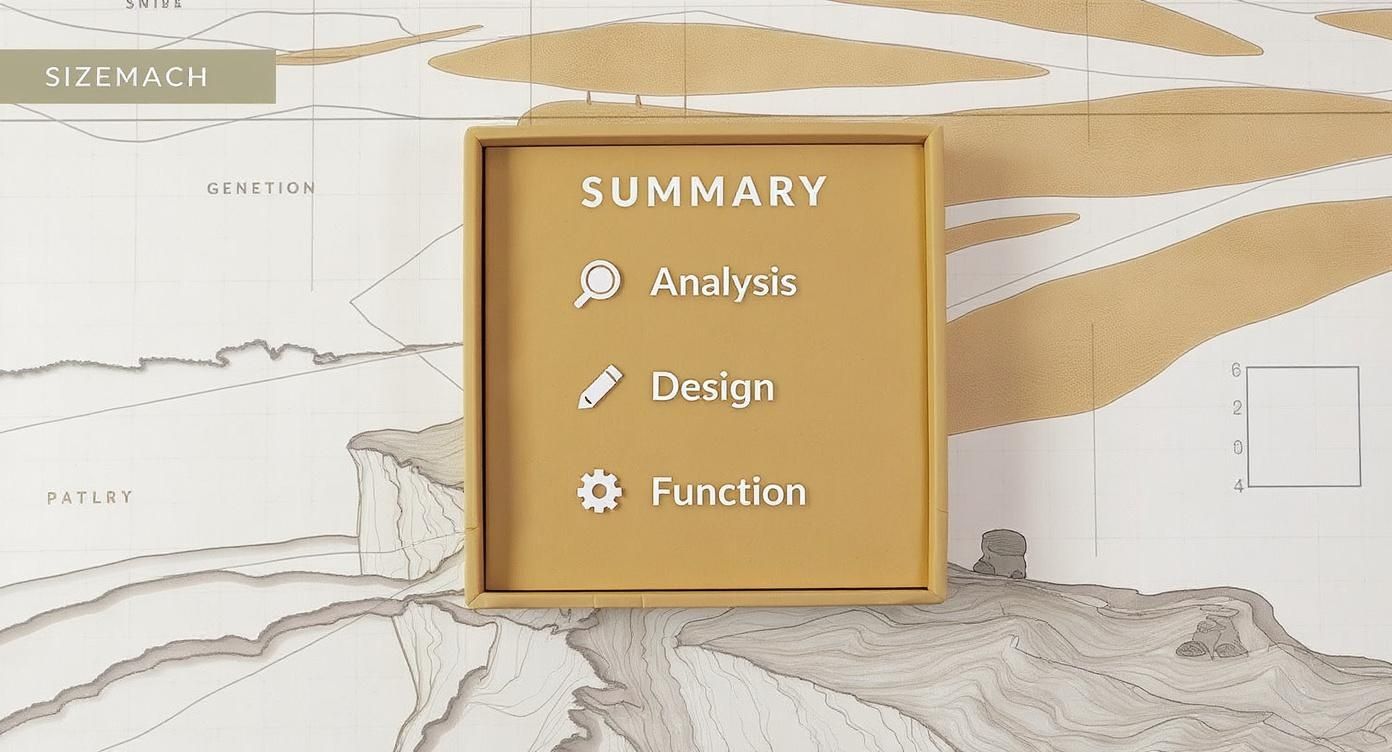
It’s a great visual for understanding how a thoughtful, well-planned approach leads to a beautiful and functional design that lasts.
Selecting The Perfect Stone
The type of stone you bring in will set the entire color palette and texture for your garden. It’s important to think beyond just what the rock looks like on its own—consider how it will look next to your home's exterior and fit into the local environment, whether you're in Roswell, Alpharetta, or Milton.
To help you get started, here's a look at some of the most popular landscape rocks we see used in North Georgia and what they're best for.
Comparing Common Landscape Rock Types
| Rock Type | Best Use | Color & Texture | Average Cost | Key Considerations |
|---|---|---|---|---|
| River Rocks | Dry creek beds, accents, mulch alternative | Smooth, rounded; varies from gray to tan and multi-color | $100 – $400 per ton | Excellent for creating a sense of flow and softness. Can be difficult to walk on. |
| Granite Boulders | Focal points, retaining walls, natural seating | Rugged, angular; often gray, pink, or salt-and-pepper | $150 – $600 per ton | Their sheer size commands attention and adds instant drama. Requires heavy equipment to place. |
| Flagstone | Patios, pathways, stepping stones | Flat, irregular shapes; commonly blue, gray, or reddish-brown | $200 – $500 per ton | Perfect for creating usable, natural-looking surfaces that blend into the garden. |
| Decomposed Granite | Pathways, filler between pavers, groundcover | Fine, gravelly texture; typically tan, gold, or gray | $60 – $150 per ton | A budget-friendly option that creates a firm, permeable surface. Can track indoors. |
Each type has its place, and often, the most dynamic and natural-looking designs use a mix of different sizes and textures. For instance, pairing a few large anchor boulders with medium-sized stones and a gravel groundcover creates a rich, layered look that feels authentic.
Pairing Plants With Your Rocks
If rocks are the bones of your landscape, plants are what bring it to life with color, texture, and seasonal change. Here in Georgia, choosing drought-tolerant species is absolutely crucial for a low-maintenance garden that can handle our scorching summers without constant watering.
The idea is to pick plants that will actually thrive in the excellent drainage—and sometimes harsh conditions—of a rock garden. You're looking for greenery that complements the stonework instead of competing with it or hiding it completely.
Some fantastic, tough-as-nails choices for an Atlanta-area rock landscape include:
- Ornamental Grasses: Think Pink Muhly Grass or Little Bluestem. They add incredible softness and movement, creating a beautiful contrast against the hard, static stones.
- Succulents: You can't go wrong with Sedum (Stonecrop) or Hens and Chicks. These are super drought-tolerant and low-growing, making them perfect for tucking into the small crevices between rocks.
- Perennials: Plants like Creeping Phlox, Coneflower, and Black-Eyed Susan provide pops of vibrant color and attract pollinators, which helps soften the hard edges of boulders and pathways.
- Shrubs: For year-round structure, look to evergreens like Dwarf Nandina or Creeping Juniper. They ensure your landscape has visual interest even in the middle of winter.
When you thoughtfully pair your rocks and plants, you're not just decorating—you're creating a balanced, resilient little ecosystem. This careful combination is the real secret behind a professional-looking rock landscape design that is built to last.
How to Prepare Your Site for Installation
Any lasting and beautiful rock landscape design is built on a solid foundation. That groundwork starts long before you even think about placing the first stone. Getting the site prep right is probably the single most important thing you can do to avoid future headaches like stubborn weeds, drainage nightmares, and shifting rocks.
Think of it as the unseen framework that holds the whole design together. It’s tempting to rush this part, I get it. But skipping proper prep to save a little time upfront almost always costs you more in the long run. Taking the time to properly clear, grade, and prepare the soil is what separates a professional-looking landscape from one that becomes a weedy mess in a year.
Clearing the Area for a Clean Slate
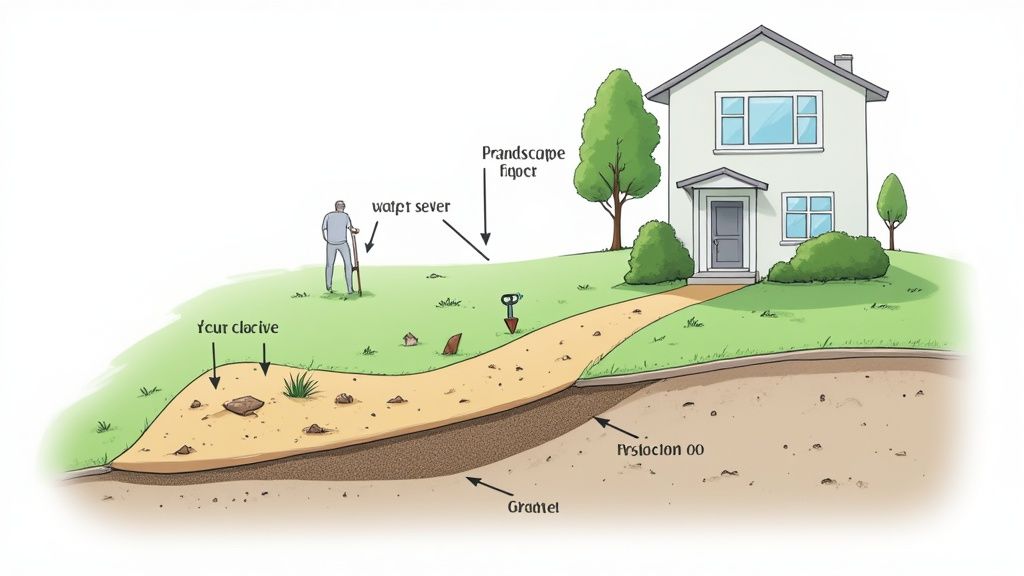
First things first: you need a completely blank canvas. That means clearing the entire area of grass, weeds, and anything else you don't want. Leaving old root systems behind is just asking for trouble—they’ll find a way to push right back through your new rock installation.
A great non-chemical way to do this is called sheet mulching. Just lay down thick, overlapping layers of cardboard right over the grass. Wet it down thoroughly, then cover it with a layer of compost. This method smothers everything by blocking out sunlight, and over a few weeks, it all breaks down and actually enriches the soil underneath.
Grading for Proper Water Management
Once the site is clear, your next critical job is grading. This is all about shaping the land to make sure water flows away from your house foundation and other structures. You'd be amazed what a subtle slope of just 2-3% can do—that’s a drop of about a quarter-inch per foot, but it's enough to prevent water from pooling where you don't want it.
This doesn't mean you need to bring in heavy machinery. Often, it's just a matter of using a good rake and shovel to create gentle, natural-looking contours that guide rainwater toward a storm drain or a planned dry creek bed.
For anyone in places like Cumming or Alpharetta dealing with our notorious red clay soil, proper grading is absolutely non-negotiable. Poor drainage in clay leads to oversaturated soil, which is a recipe for foundation issues and an unstable base for heavy boulders.
If you're facing serious drainage challenges, you might need a more robust solution. It can be helpful to understand the cost and process to install a French drain, as this is a common and effective way to manage excess water professionally. And for really tricky sites with steep grades, it's worth looking into specialized approaches for sloping blocks to ensure your design is both beautiful and stable.
Installing a Weed Barrier and Amending Soil
With the grading done, it's time to lay down a high-quality, permeable landscape fabric. This geotextile material is a game-changer. It lets water and air get to the soil but forms a physical barrier that stops weeds in their tracks. Make sure you overlap the edges by at least six inches and secure it tightly with landscape staples to eliminate any gaps.
The final touch, if you're adding plants, is to put down a layer of a well-draining soil mix on top of the fabric right where your plants will go. We often amend the native soil with compost and some coarse sand or fine gravel to improve aeration. This creates the perfect, free-draining environment where drought-tolerant plants can really thrive.
Professional Installation Techniques You Can Use
Once your site is prepped and ready to go, the real fun begins. This is where your vision for a beautiful rock landscape starts to take shape, turning a plan on paper into a stunning physical reality. It's more than just dropping rocks; professional installers use a specific set of techniques to make sure the final result looks like a natural, cohesive part of the landscape, not just a random pile of stones.
The whole process is about building in layers. You start with the big, impactful pieces and then work your way down to the smaller, more detailed elements. This approach gives the design a solid foundation and a visual depth that really makes a high-quality installation stand out.
Setting Anchor Boulders for Structure
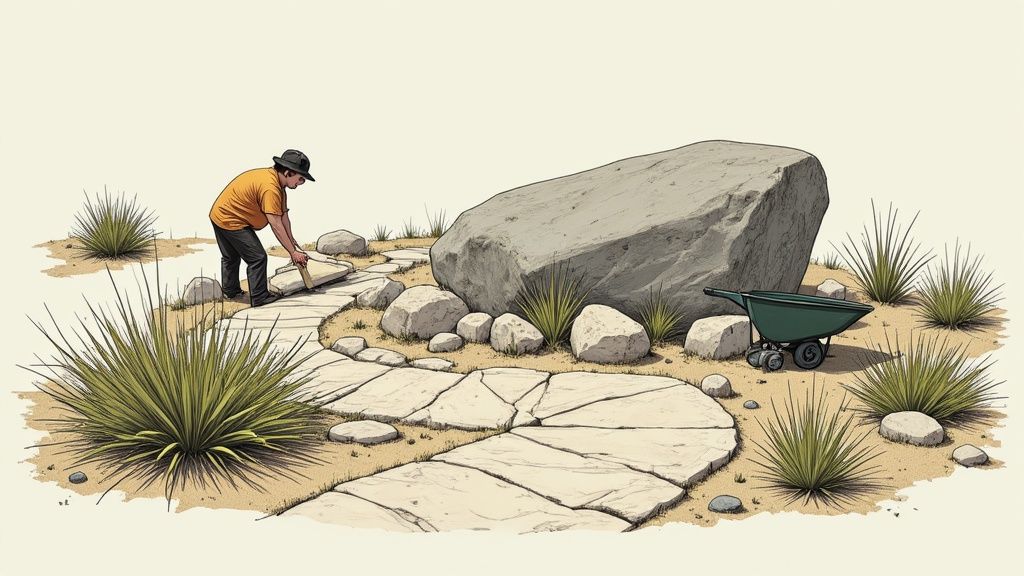
Think of your largest stones—the anchor boulders—as the skeleton of your design. They provide the core structure, so they should be the very first things you put in place. The trick is to make them look like they've been sitting there for a hundred years, perfectly settled into the earth.
To get that look, you'll need to dig a shallow depression for each boulder. Nestle it in so that at least one-third of its total mass is buried underground. This not only gives it that natural, grounded appearance but also makes it incredibly stable. Make sure you turn the boulder so its most interesting side faces the key spots where you'll be looking at it from, like your back porch or a living room window.
Weaving in Smaller Stones and Creating Flow
With your anchor boulders firmly in place, it's time to start weaving in the smaller stones. This is how you build texture and create a visual connection between the bigger pieces. You're trying to mimic how stones would naturally arrange themselves over time, creating a sense of movement and flow.
- Group in Odd Numbers: For a more organic feel, cluster stones in groups of three or five. It avoids the rigid, unnatural look of symmetry.
- Vary the Spacing: Don't line your rocks up like soldiers in a row. Mix up the spacing to create a more interesting rhythm throughout the design.
- Create Natural Transitions: Use medium-sized rocks to bridge the visual gap between your huge boulders and the smaller gravel or groundcover areas.
A dry creek bed is a fantastic way to put this into practice. You'd start by laying larger, smoother river rocks along the outside edges to form the "banks." Then, you fill the middle with a mix of smaller stones to create the illusion of a stream that has long since dried up. This isn't just a beautiful feature; it's also a powerhouse drainage solution, especially for properties in areas like Forsyth or Cherokee County that might have runoff issues.
Always step back frequently during the installation process. What looks good up close might feel unbalanced from a distance. Viewing your work from multiple angles helps you see the bigger picture and make better placement decisions.
Planting in Your Rock Garden
Putting plants into a rock landscape is a little different than working with a standard garden bed. The goal is to create dedicated pockets of rich soil where plants can really thrive and establish strong roots.
Start by cutting a simple 'X' into the landscape fabric right where you want each plant to go. Dig out a small area and mix in some good compost with the native soil to give your plant a nutrient-rich home. When you place the plant, make sure its root ball is level with the surrounding soil. Finally, pull the gravel or mulch back around its base, but be sure to leave a couple of inches of space around the stem to prevent rot.
Safety and Professional Help
Let's be clear: handling heavy materials like boulders is serious business. You absolutely have to use proper lifting techniques—lift with your legs, never your back—and always wear protective gear like steel-toed boots and heavy-duty gloves. For any boulder over 100 pounds, you're going to need more than muscle. Think about using a heavy-duty dolly or even renting a small excavator.
Never, ever try to move a large boulder on a slope by yourself. It can get away from you in an instant. For bigger, more complex jobs involving heavy machinery or tricky access points, it’s always smarter to call in the pros. If you need a hand finding reliable experts for any part of your project, you can easily find local contractors in the Atlanta area who have the right equipment and experience to get it done safely.
Keeping Your Rock Landscape Looking Its Best
One of the biggest perks of a rock landscape design is the promise of less work. But "low maintenance" doesn't mean "no maintenance." The good news is that a little bit of seasonal care is usually all it takes to keep your design looking sharp and intentional for years to come.
Think of this upkeep as proactive, not reactive. A few simple tasks here and there will stop small issues from snowballing into big weekend projects, ensuring your investment continues to pay off.
A Simple Seasonal Care Plan
A straightforward routine is your best defense against the usual suspects like weeds and grime. The goal here isn't back-breaking labor; it's about staying on top of things so your landscape always looks its best.
Here’s a basic checklist to run through each season:
- Weed Management: No matter how well you prepped the site, some stubborn weeds will eventually find a way. The key is to hand-pull them as soon as you see them, before they have a chance to seed and spread.
- Stone Cleaning: Over time, dust and debris can make your rocks look a bit dull. A quick rinse with a garden hose usually does the trick. For tougher grime, a stiff brush and some water will restore their natural color. Just be sure to avoid harsh chemicals that can harm your plants and soil.
- Plant Care: While your drought-tolerant plants will eventually need very little attention, they do need some care to get established. Keep an eye on them, especially during their first year, to make sure they're settling in well. For more ideas on creating a resilient and water-wise garden, check out these drought-friendly rock garden design tips.
This trend toward sustainable, low-maintenance design isn't just a local one. The global landscape rock market hit a value of USD 8.2 billion in 2023 and is only expected to grow, largely driven by this demand for beautiful, water-wise solutions.
Knowing When to Call a Professional Arborist
While you're handling the ground-level maintenance, don't forget to look up. The health of the trees around your new rockscape can have a huge impact. Large, overhanging branches are a potential safety hazard, and aggressive root systems can easily displace all those stones you worked so hard to set.
DIY tree trimming can be incredibly dangerous, especially when you're dealing with large branches or trees close to your house. Knowing when a job is too big to handle yourself is crucial for protecting your property and, more importantly, your own safety.
It's definitely time to bring in a professional arborist if you spot any of these red flags:
- Large dead or dying branches hanging overhead
- Signs of disease or a serious pest infestation
- Roots that are starting to heave or crack nearby sidewalks, driveways, or your new rock features
For homeowners in Cumming, Alpharetta, and across North Georgia, having an expert you can trust is a game-changer. The ISA Certified Arborists at Richmond Tree Experts GA have the skills and equipment to safely manage your trees, whether it’s pruning, treatment, or removal. We make sure your entire property—from the ground up—stays beautiful and secure.
Common Questions About Rock Landscape Design
Embarking on a new landscape project, especially one involving something as permanent as stone, can feel a bit overwhelming. You're bound to have questions pop up. To help you plan with a bit more clarity and confidence, we’ve put together some of the most common questions we hear from homeowners around the Atlanta area.
Here are the straightforward answers you’re looking for.
How Much Does a Rock Landscape Design Project Typically Cost?
This is always the first question, and the honest-to-goodness answer is: it really depends. The final cost is a mix of the project's size, the type of rock you fall in love with, and how much hands-on labor is needed. For a small, do-it-yourself rock garden using local river rock, you might only be looking at a few hundred dollars.
But when you start talking about a large-scale, professionally installed rock landscape design, it becomes a more significant investment. Projects that need serious grading, the delivery of massive boulders, mature plants, and maybe a flagstone patio can easily run from $5,000 to $20,000, and sometimes more.
To put it in perspective:
- Basic Gravel: You might find this for as low as $50-$70 per ton.
- Decorative Boulders: For unique, statement-making stones, the price can jump to over $300-$500 per ton.
- Labor and Equipment: Don't forget, professional installation involves heavy machinery and skilled operators, which is crucial for getting the job done safely and correctly.
Will a Rock Landscape Increase My Property Value?
Without a doubt, yes. A well-designed landscape is one of the smartest ways to boost your home’s curb appeal, and rock-based designs are particularly sought-after right now. Today's buyers are actively looking for homes that feel modern, low-maintenance, and water-wise.
A thoughtfully designed rock landscape is so much more than a pretty feature. It’s a functional upgrade that signals to potential buyers that this home is easy to care for and built to last. High-impact elements like stone pathways and artistic boulder placements make your property unforgettable and offer a fantastic return on investment.
Can I Build a Rock Garden on a Sloped Yard?
Absolutely. In fact, sloped yards are often the perfect place for a rock garden. Rocks are nature's best solution for controlling soil erosion on an incline. By using a technique called terracing, you can turn a tricky slope into a jaw-dropping, multi-level garden.
The idea is to strategically place large "keystone" rocks into the hillside to create stable, level pockets. We then backfill these pockets with a well-draining soil mix, creating the perfect planting spots for all sorts of perennials and shrubs. You’re not just solving an erosion problem—you’re adding incredible visual depth and character that you just can't get on flat ground. It’s one of the best ways to turn a landscape headache into a major design asset.
Ready to bring your vision to life but need an expert to handle the trees around your new landscape? The health of your existing trees can make or break the final result. Contact Richmond Tree Experts GA for a consultation and let our certified arborists ensure your entire property is safe and beautiful from the ground up. Find out more at https://richmondtree.com.

