

Before you start planning a dead tree removal, you first need to be absolutely sure the tree is a lost cause. It's surprisingly easy to mistake a dormant winter tree or a temporarily stressed one for a dead one, and that's a mistake that can cost you a perfectly good tree.
A few quick checks can give you a clear answer and save you a lot of second-guessing.
How to Be Sure Your Tree Is Actually Dead
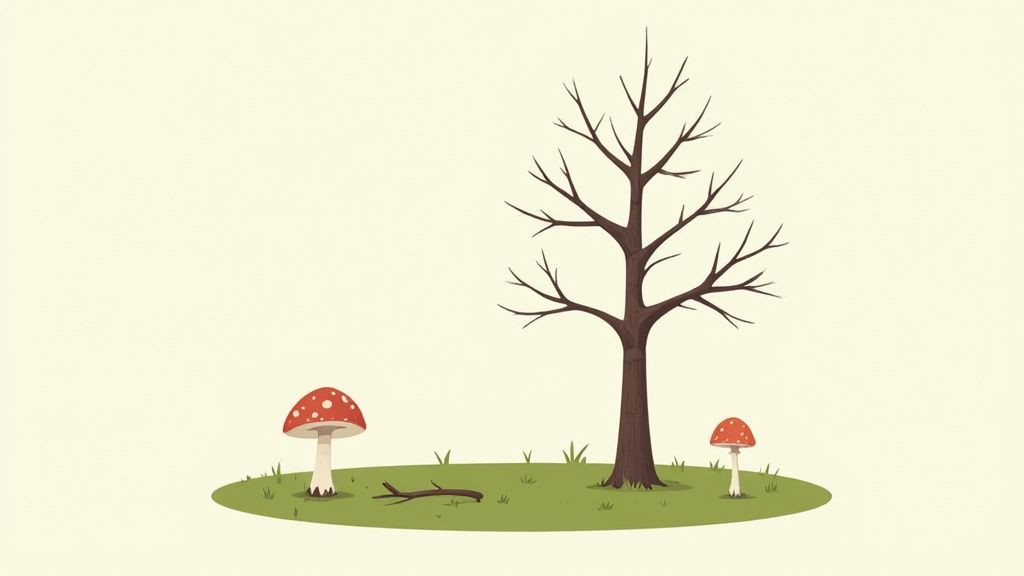
It’s time to play detective. A tree with no leaves in the middle of summer is a pretty obvious red flag, but it's not the whole story. Some diseases or severe drought can cause a tree to drop its leaves prematurely, even though it's still alive and could recover with some care.
Making the right call here is crucial. A tree that just looks lifeless might only be struggling and could bounce back. Taking a few minutes to diagnose the problem properly protects you from the expense of removing a tree that could have been saved.
The Visual Inspection Checklist
Start by taking a walk around the tree. Look at it from a distance, then get up close to inspect the trunk, branches, and base. You can learn a lot just by looking for a few tell-tale signs.
Here's what to keep an eye out for:
- Major Trunk Damage: Deep, vertical cracks running up the trunk are a bad sign. Also, look for large wounds where the bark has peeled away, exposing the smooth wood underneath. These are serious red flags.
- Fungal Growth: If you see mushrooms, shelf fungi, or other growths on the trunk or sprouting from the roots, it's a strong indicator of internal rot. That decay compromises the tree’s structural integrity from the inside out.
- Bare Branches (During Growing Season): A deciduous tree that's still bare in spring or summer when its neighbors are green and full is almost certainly dead or on its last legs. On evergreens, look for large sections of brown or red needles that aren't falling off.
- Epicormic Shoots: See a sudden burst of tiny, weak-looking branches sprouting from the main trunk or the base? That’s a classic stress response. It's the tree's last-ditch effort to grow new leaves because its primary canopy is failing.
Hands-On Diagnostic Tests
If the visual clues aren't giving you a clear answer, a couple of simple physical tests will settle it.
The Snap-Scratch Test is the go-to method for any homeowner. It’s easy and incredibly reliable.
- First, find a small twig on a branch—something about the thickness of a pencil is perfect.
- Try bending it. A living twig will be supple and bend easily. A dead one will be brittle and snap clean in two with a dry crack.
- Next, do the scratch test. Use your thumbnail or a small pocketknife to scrape away a tiny bit of the bark on that twig or a slightly larger branch.
If the tree is alive, you'll see a moist, bright green layer right under the bark. That's the cambium. If all you find is dry, brown wood, that part of the tree is dead. Make sure to test a few different spots around the tree to get the full picture.
Even with these tests, it can be tough to know the full extent of the problem. If you're dealing with a very large tree or you're still not 100% sure after your inspection, getting a professional opinion is the smartest and safest move. A certified arborist in Atlanta, GA has the trained eye to spot subtle signs of structural weakness or disease that an amateur might miss, potentially saving you from a costly or dangerous situation.
Gathering the Right Tools and Safety Gear
Trying to take down a dead tree without the right gear is more than just a bad idea—it’s asking for a trip to the emergency room. This isn't just about having a chainsaw. It's about having the right chainsaw, and more importantly, all the safety equipment that protects you when things go sideways. Let’s break down what you actually need to do this job safely and effectively.
Chainsaws, Wedges, and Ropes
The chainsaw is obviously the star of the show, but grabbing the small electric one you use for trimming bushes won’t cut it here, literally. For felling even a medium-sized dead tree, the power of your saw—measured in engine size (cc)—and its bar length are critical.
For smaller trees, say up to 12 inches in diameter, you might get by with a 40-50cc engine and a 16-18 inch bar. Anything bigger, and you’re going to need more muscle. Using an underpowered saw is exhausting and dangerous; it's far more likely to kick back or get pinched in the cut. The right saw lets you make clean, confident cuts and stay in control.
But the saw is only one part of the equation. A few other tools are non-negotiable for making the tree fall where you want it to.
- Felling Wedges: These simple plastic or metal wedges are your best friends. As you make your back cut, you hammer them in behind the bar. They do two crucial things: they keep the tree's weight from pinching your saw, and they help "push" the tree over in your intended direction.
- Strong Ropes: If the tree has any kind of lean or there are obstacles nearby, you need a way to guide it down. Tying a sturdy rope high up the trunk allows a helper (standing far out of the felling zone) to pull and steer the tree as it begins to fall. It’s a simple technique that gives you an incredible amount of control.
Your Personal Protective Armor
Tree work is unpredictable. A branch can snap, a chip can fly, or a saw can kick back in a blink. Your Personal Protective Equipment (PPE) is the only thing standing between you and a life-changing injury. Don't even think about starting the engine without it.
Here’s your essential checklist:
- A Certified Hard Hat: This is not optional. A small falling branch can cause a serious head injury. Make sure yours meets ANSI Z89.1 standards.
- Safety Glasses or Goggles: Sawdust, wood chips, and twigs will be flying. Protect your eyes with full-wrap glasses or goggles.
- Hearing Protection: A chainsaw screams at over 110 decibels, loud enough to cause permanent hearing loss. Earmuffs or earplugs are a must.
- Steel-Toed Boots: You need solid footing on uneven, debris-covered ground. These also protect your feet from the weight of a falling log.
- Chainsaw-Resistant Chaps: If you buy only one piece of specialized gear, make it this one. These chaps are woven with layers of material like Kevlar designed to instantly snag and stop a moving chainsaw chain on contact. They can, and do, save legs.
The cost of proper safety gear is a tiny fraction of the medical bills from a single accident. There is no room for compromise here.
The Right Tools for the Job: DIY vs. Pro
It's one thing to have basic tools, but it's another to have the specialized, heavy-duty equipment a professional arborist brings to a job site. The difference isn't just about efficiency; it's fundamentally about safety and capability, especially as the complexity of the job increases.
Here’s a quick look at how a typical homeowner's toolkit stacks up against what the pros use.
DIY vs Professional Tree Removal Tool Comparison
| Tool Category | Typical DIY Equipment | Professional Arborist Equipment | Key Difference |
|---|---|---|---|
| Cutting | Consumer-grade gas/electric chainsaw (16-18" bar) | Multiple commercial-grade gas chainsaws (18"-36"+ bars), pole saws | Pros have saws with far more power and specialized bar lengths for any size tree or cut. |
| Safety | Hard hat, safety glasses, gloves, steel-toed boots | ANSI-rated helmet system (with face shield & ear protection), chainsaw chaps, high-visibility clothing | Professional gear is rated for high-impact, all-day use and includes specialized items like chaps that are often overlooked by DIYers. |
| Rigging & Felling | Basic rope, a few plastic wedges | Arborist-grade ropes, specialized pulleys, carabiners, friction savers, multiple heavy-duty wedges | Pro rigging allows for complex lowering of limbs and precise directional felling near structures, something basic rope can't handle. |
| Site Cleanup | Wheelbarrow, rake, pickup truck | Industrial wood chipper, stump grinder, log loader or mini skid-steer | Professionals can process and remove an entire tree in a fraction of the time, including grinding the stump below grade. |
As you can see, while a homeowner can handle a very straightforward, small tree removal, the equipment professionals use allows them to tackle larger, more dangerous, and complex jobs with a much higher degree of safety and control.
Safely Felling a Small Tree on Your Property
Alright, you’ve done your prep work, you've got your gear, and now it's time for the main event. Dropping a tree—even a small one—is serious business. It’s a delicate dance of physics, good judgment, and a healthy dose of respect for gravity. This isn't about raw power; it’s about making smart, precise cuts to guide that tree exactly where you want it to land.
A safe takedown is all in the planning. The biggest mistakes happen when people get impatient and rush this part. Before that chainsaw even roars to life, you need a solid plan that considers the tree itself and everything around it.
Planning the Perfect Fall
The whole point is to control the fall. To do that, you need to understand two things: which way the tree wants to go and what's in its way. First, take a slow walk around the tree a few times. You're looking for its natural lean. Dead trees almost always have one, whether it's from rot setting in or just lopsided growth over the years.
Gravity can be your best friend or your worst enemy here. Whenever you can, plan to drop the tree in the direction it's already leaning. Trying to force a tree to fall against a strong lean is a recipe for disaster and something best left to the pros with their complex rigging.
Once you know the lean, it's time to map out your safety zones:
- The Felling Zone: This is your landing strip. You need a clear path that’s at least 1.5 times the height of the tree. Get everything out of this area—rocks, stray tools, logs, thick brush. Anything you could possibly trip on needs to go.
- The Escape Routes: You never, ever stand around to watch your work. As soon as that tree starts to go, you need to move. You’ll want two clear escape routes planned out, each at a 45-degree angle away from the direction of the fall. Never plan to run straight back from the stump; a falling tree can kick back with incredible force.
This infographic breaks down the basic safety steps, from the initial look-over to making the final cut.
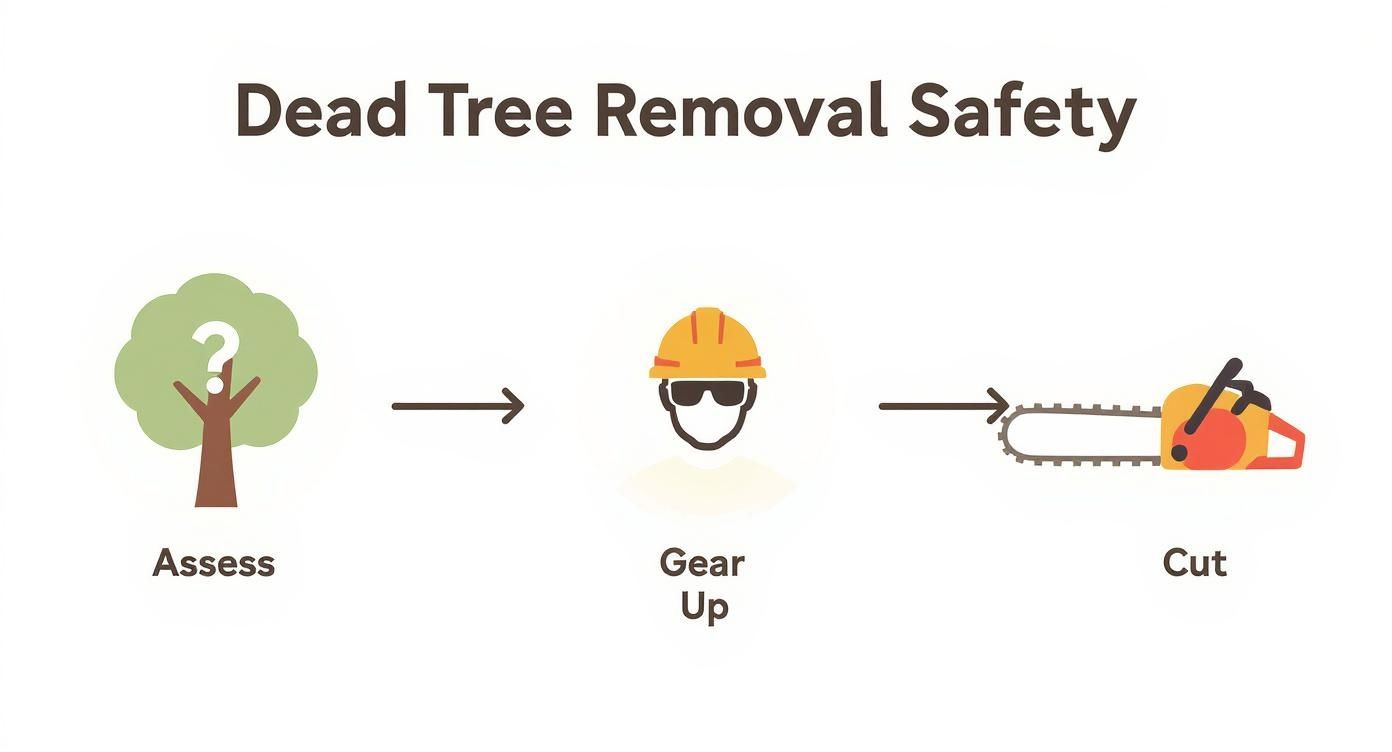
As you can see, the real work happens before the saw ever touches the wood. Good prep is the foundation of a safe felling job.
Executing the Critical Cuts
The entire art of felling comes down to three cuts. These cuts work together to create a hinge that steers the tree on its way down, just like a hinge on a door. Nail this part, and you’re in control.
Your first move is to make the directional notch, which you might also hear called a face cut. This is a wedge you’ll cut out from the side of the tree facing your landing zone.
- Top Cut: At a comfortable working height (usually around your waist), make a downward cut at about a 70-degree angle. This cut should go no more than 20-25% of the way through the tree's diameter.
- Bottom Cut: Make a second, perfectly horizontal cut underneath the first one. You'll cut inward until you meet the end of the top cut, allowing you to pull the wedge of wood right out.
Pro Tip: Think of the "mouth" of your notch as an arrow. It needs to point exactly where you want that tree to land. Step back and check your aim before you even think about making the next cut.
With your notch cut, walk around to the opposite side of the tree. It’s time for the most important part: the felling cut, or back cut.
Creating and Using the Hinge
This final cut is what commits the tree to falling, but it's crucial that you don't cut all the way through. You need to stop about 1-2 inches from the back of your directional notch.
That strip of uncut wood you leave behind is the hinge. It is, without a doubt, the most important part of a controlled felling.
The hinge is what keeps the tree from twisting, falling sideways, or kicking back off the stump. It’s the rudder that steers the trunk down the path you’ve cleared for it. Ideally, the hinge's width should be about 80% of the tree's diameter, and its thickness should be about 10%.
As you make this final cut, stay alert.
- Use Felling Wedges: Once you've cut in deep enough to fit one in behind your chainsaw bar, pause and hammer a wedge into the cut. This little piece of plastic is a lifesaver—it keeps the tree's weight from pinching your saw and lets you apply a little pressure to encourage the fall.
- Listen and Watch: The tree will start talking to you. You'll hear creaks and cracks as the wood fibers begin to pop. Keep an eye on the top of the tree; you'll see it start to move long before the base does.
The moment that tree commits to falling, it's time to go. Don't wait. Immediately turn off the saw, place it on the ground, and walk—don't run—down one of your escape routes. Keep your eyes on the tree as you move away, just to be safe. When it hits the ground with a satisfying thud, you’ll know your careful planning paid off.
Breaking Down Professional Tree Removal Costs
When you’re staring at a dead tree on your property, the big question often boils down to one thing: cost. It’s tempting to think about tackling the job yourself to save a few bucks, but it’s crucial to understand what really goes into a professional quote before making a decision that could impact your safety and your wallet.
The price a professional tree service gives you isn't just a number pulled out of thin air. It’s a carefully calculated figure based on the risk involved, the labor required, and the heavy-duty equipment needed to get the job done right—and safely.
What Drives the Price of a Quote
The single biggest factor is always the size of the tree. A small, 30-foot tree might be a relatively simple job, but a towering 80-foot oak is a whole different ballgame. Taller, thicker trees demand more time, more crew members, and more complex rigging to bring them down without incident, and the price will reflect that.
Next up is the tree's location. Is it standing out in the middle of an open field, far from anything it could hit? That’s the best-case scenario. But if that same tree is looming over your house, tangled up in power lines, or wedged between two properties, the risk skyrockets. That complexity and danger are baked directly into the cost.
A professional arborist's quote isn't just for cutting down a tree. It's for their expertise, their specialized equipment, and, most importantly, their insurance. This protects you from liability if something goes wrong.
Finally, accessibility is a huge piece of the puzzle. If a crew can pull their bucket truck and wood chipper right up to the base of the tree, the job is much faster and more efficient. If that tree is tucked away in a fenced-in backyard with no vehicle access, everything has to be done by hand. Every log, every branch, every piece of equipment has to be manually carried, which adds a significant amount to the labor costs.
Understanding Your Estimate
When you get a quote for dead tree removal, you need to know what you’re paying for. A standard, all-inclusive estimate usually covers the entire process from start to finish.
- Felling and Dismantling: This is the main event—safely getting the tree on the ground. For big trees or those in tight spots, this often means an arborist has to physically climb the tree and lower it down piece by piece.
- Debris Removal: Once the tree is down, the crew gets to work with an industrial wood chipper, turning all the branches and small limbs into mulch. The larger sections of the trunk are typically cut into more manageable, firewood-sized logs.
- Hauling: All those wood chips and logs are then loaded onto a truck and hauled away, leaving your property clear.
- Site Cleanup: The job isn't done until the site is tidy. A good crew will rake up all the sawdust, twigs, and leftover debris to leave the area looking clean.
Additional Services That Affect the Total
Some tasks are typically considered add-ons and will increase the final price. It’s always smart to ask whether these are included in your quote or if they’ll be listed as separate line items.
The most common extra service is stump grinding. Cutting down a tree leaves the stump and its root ball in the ground. A stump grinder is a special machine that grinds the stump down several inches below the surface, which allows you to fill the area with soil and plant grass or other landscaping.
What happens to the wood can also change the price. The default service is usually to haul everything away. However, if you want to keep the logs for firewood or have the wood chips left on-site for mulch, let the company know. Sometimes, this can shave a little bit off the total cost.
For a more detailed look at pricing in our area, check out our guide on the tree removal cost in Atlanta. It can give you a much clearer picture of what to budget for locally.
When to Put Down the Chainsaw and Call a Pro
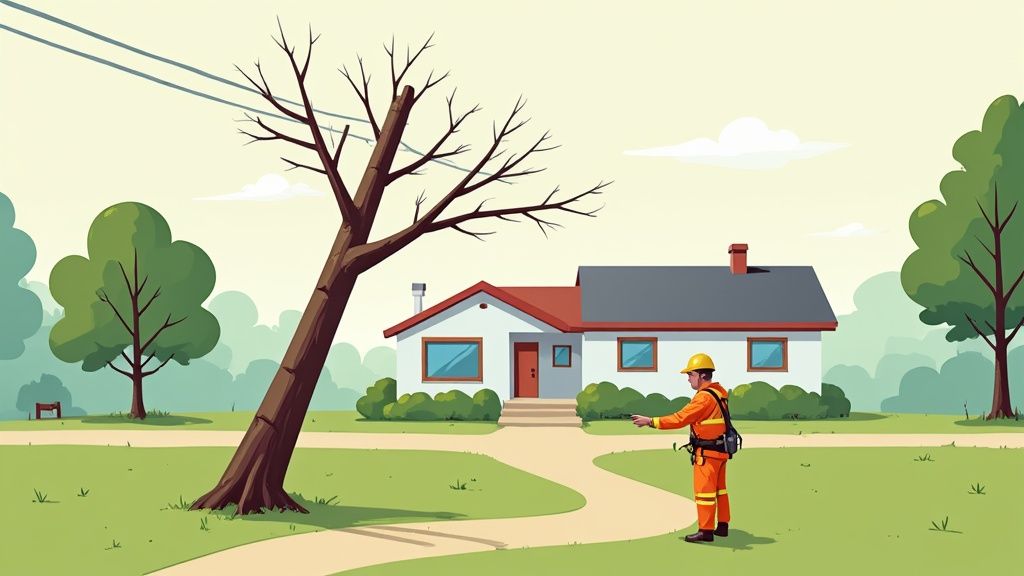
There's a real satisfaction that comes from tackling a tough DIY project and getting it done right. But when it comes to taking down a dead tree, a little overconfidence can quickly lead to disaster. The single most important safety skill you can have is knowing where to draw the line between a manageable job and a high-risk operation.
Some situations are just too dangerous for a homeowner with a chainsaw. The consequences of a mistake aren't just a busted fence; they can be catastrophic, involving serious injury, major property damage, and massive liability.
The Absolute Deal-Breakers for DIY
Certain red flags immediately take a dead tree removal out of the DIY category and put it squarely in the "call a pro, no exceptions" column. If your tree fits any of these descriptions, your next move should be looking up a certified arborist.
These are the scenarios where the risk is simply too high:
- Proximity to Power Lines: This is the number one non-negotiable. A tree tangled in power lines can conduct electricity, creating a lethal hazard. Never, ever attempt to cut a tree anywhere near utility lines.
- Leaning Over Structures: If that dead tree is looming over your house, your neighbor's roof, the garage, or even a public sidewalk, the stakes are enormous. Professionals use specialized rigging techniques to carefully dismantle these trees piece by piece, making sure nothing comes down uncontrolled.
- Large Diameter or Extreme Height: A tree that’s more than 15-20 inches in diameter or is taller than your house is way beyond the scope of typical DIY gear. The forces involved are immense and demand commercial-grade saws and years of experience.
Hidden Dangers That Demand Expertise
Sometimes the biggest risks aren't the most obvious ones. A dead tree might look simple enough from the ground, but hidden problems can make it behave unpredictably once you start cutting.
A perfect example is serious internal rot. If you see fungus growing on the trunk or large cavities, that's a sign of deep decay. This compromised wood means the "hinge" you cut to direct the fall might fail, sending tons of wood in a direction you never intended. An experienced arborist knows how to spot these signs and adjust their entire approach.
A professional's value isn't just in their bigger saws; it's in their ability to read a tree's condition and predict how it will react under the stress of cutting. That's a skill you can't learn from a YouTube video.
This level of assessment is critical, especially when you think about the wider impact of tree removal. When not managed right, clearing land can have permanent consequences. In fact, from 2001 to 2024, 34% of all global forest loss has been classified as likely permanent, with cleared lands not regrowing naturally.
The Value of Professional Insurance and Equipment
Imagine a large limb snaps unexpectedly and punches a hole through your neighbor's roof. Without proper insurance, you’d be on the hook for tens of thousands of dollars in damages. A reputable tree service carries substantial liability insurance for this exact reason, protecting you from financial ruin.
They also show up with a completely different class of tools. We're talking about bucket trucks for safe access, industrial wood chippers that make cleanup a breeze, and powerful stump grinders to finish the job right. If you're looking at more extensive work than just one tree, you might also find this homeowner's guide to professional land clearing helpful.
Ultimately, the choice comes down to a clear-eyed look at risk versus reward. Saving a few bucks is always tempting, but no amount of savings is worth a life-altering accident or a devastating lawsuit. Knowing when to call in the pros is the smartest decision a homeowner can make.
Common Questions About Dead Tree Removal
Even after you've done all the research, a few lingering questions always seem to pop up when you're facing a dead tree removal. Getting those final details sorted out is the key to a project that goes off without a hitch. Let's tackle some of the most common things homeowners ask us.
Can I Tell If a Tree Is Dead in Winter?
This is a great question. Telling a dead tree from a dormant one when all the leaves are gone can be tricky, but there are a couple of tried-and-true methods we use.
First, try the "snap test." Find a few small, finger-sized twigs and try to bend them. A live, dormant branch will be flexible and bend easily. A dead one will feel brittle and snap right off.
If you're still not sure, do a quick scratch test. Use your thumbnail or a small pocketknife to scrape away a tiny bit of the outer bark on a branch. If you see a layer of bright, healthy green underneath, the tree is alive. If it’s brown, dry, and brittle, that section of the tree is dead.
Is a Permit Required for a Dead Tree?
In most cases, you do not need a permit to take down a dead tree on your property, especially since it's considered a safety hazard. But—and this is a big but—it’s not a universal rule. Every town, city, and HOA has its own set of regulations.
It's always a smart move to make a quick call to your local planning department before you start any work. A five-minute phone call can save you from potential fines and headaches down the line.
What Is the Best Time of Year for Removal?
Ideally, the best time to schedule a dead tree removal is during its dormant season, which is late fall or winter. The ground is often harder or even frozen, which dramatically cuts down on lawn damage from our crew and equipment. Another big plus is that with the leaves gone from nearby trees, we have a much clearer line of sight to plan the safest felling path.
Of course, safety trumps everything. If a dead or dying tree is an immediate threat to your house, family, or property, it needs to come down right away, no matter what time of year it is.
Once the tree is on the ground, the real cleanup starts. You'll have a lot of wood and debris to manage, so it helps to know what you can put in a dumpster to make the disposal process easier. And don't forget about the stump! If you're wondering what to do with that leftover eyesore, our team put together a helpful guide on how to remove tree stumps and get your yard back.
For safe and professional tree services in the Atlanta area, from Cumming and Alpharetta to Marietta, Richmond Tree Experts GA has the certified expertise you need.
Contact us today for a free estimate!
Need a tree taken down safely? Richmond Tree Experts has worked on Marietta and Metro Atlanta trees since 1985, and every job is looked at by an ISA Certified Arborist before it is priced. Start with tree removal, or see everything we do: tree removal, stump grinding and arborist services across Cobb, Fulton, Cherokee, Gwinnett and DeKalb counties (service areas).
Call (770) 974-3964, 7am to 11pm every day, or request an estimate online.

