

Figuring out when to take down a pine tree really boils down to one thing: is it a genuine hazard, or is it just becoming an inconvenience? Getting this right is crucial. Some problems demand immediate attention, while others might just need some professional TLC. Let’s walk through the signs that tell you a pine has overstayed its welcome.
Knowing When a Pine Tree Has to Go
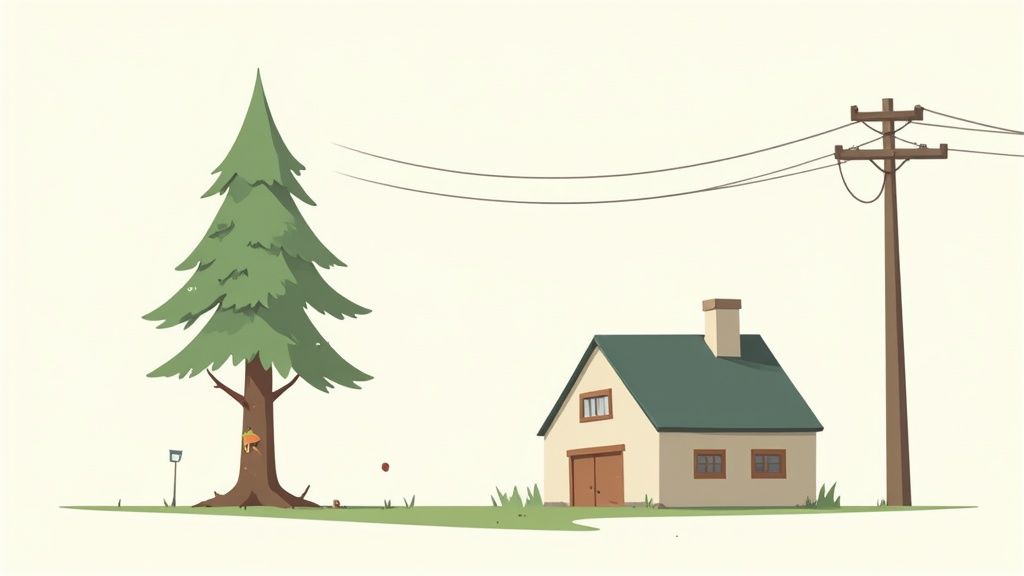
Before you even think about firing up a chainsaw, it’s time for an honest walk around your property. Take a good, objective look at the tree in question. Some red flags are impossible to miss, like those big, dead branches hanging right over your kid’s playset. Others are a bit more subtle and need a closer inspection to really grasp the risk.
Spotting Structural and Health Dangers
A tree’s health is almost always the deciding factor. A sick or dying pine isn’t just ugly; it’s a ticking time bomb waiting for the next big storm to knock it over.
Keep an eye out for these clear indicators of trouble:
- Significant Lean: Has the tree developed a sudden or severe lean? If you see the soil heaving up at the base, that’s a classic sign of root failure. This is a serious red flag—the tree could topple at any moment.
- Dead or Dying Branches: Take a look at the canopy. If more than 50% of the branches are brown, brittle, and have lost their needles, the tree is likely in a state of serious decline and probably can’t be saved.
- Fungal Growth: See any mushrooms or other funky growths on the trunk or popping up from the roots? That’s often a dead giveaway for internal rot, which eats away at the tree’s core strength from the inside out.
- Trunk Damage: Deep cracks, long splits, or big hollow spots in the main trunk are all signs that the tree’s structural integrity is shot, making it dangerously unstable.
If you’re on the fence about whether your tree is diseased or just having a rough patch, our guide to tree disease identification can help you make a more informed call. Catching a problem early might give you a chance to save the tree, but advanced decay usually means removal is the only safe option.
A healthy pine can weather almost any storm, but a compromised one is a major risk to your home, your family, and everything on your property. It’s always, always better to be proactive than to clean up after a disaster you could have prevented.
Practical Reasons for Pine Tree Removal
Of course, sometimes a perfectly healthy tree is just in the wrong place. What started as a cute little sapling decades ago can morph into a massive problem for your property as it matures.
It might be time to consider removal if your pine is:
- Too Close to Structures: Those sprawling roots can wreak havoc on foundations, crack driveways, and bust up septic systems. And branches that constantly scrape against your roof or siding can cause real damage over time.
- Interfering with Utility Lines: This one is a no-brainer. A tree growing into or even just near power lines is an immediate safety hazard that needs a professional to handle it—don’t even think about tackling that yourself.
- Causing Excessive Shade: A giant pine can create a “dead zone” in your yard, blocking so much sun that your garden, lawn, or solar panels become useless.
Extreme weather is another factor we can’t ignore anymore. Years of drought and intense heat waves are causing widespread pine mortality in many areas, weakening even established trees. This environmental stress makes them more susceptible to disease and storm damage, turning a beautiful tree into a potential liability.
Your Pre-Cut Safety and Prep Checklist
When it comes to felling a pine tree, what you do before the chainsaw roars to life is far more important than the cut itself. This is all about getting ahead of the chaos. Success hinges on meticulous preparation, creating a controlled environment where you—not gravity—call the shots.
First things first: your personal protective equipment (PPE) is absolutely non-negotiable. Don’t even think about cutting corners here. This gear is your armor against the very real dangers of tree work. A solid helmet is the bare minimum, because even a small, falling branch can cause a devastating injury.
But head protection is just the start. Your full gear list must include:
- Safety Glasses or Goggles: Essential for keeping flying wood chips and sawdust out of your eyes.
- Hearing Protection: Chainsaws are incredibly loud. Sustained exposure can cause permanent hearing damage in a surprisingly short amount of time.
- Chainsaw-Resistant Chaps: These specialized leg coverings are designed to snag and instantly stop a moving chainsaw chain on contact. They can literally save you from a life-altering injury.
- Steel-Toed Boots: You need solid footing and protection from falling logs.
Clearing the Fall Zone
Once you’re geared up, your next focus is the area where the tree is going to land. This space is called the fall zone, and it needs to be completely clear of absolutely everything.
A good rule of thumb is to establish a perimeter that extends at least 1.5 times the height of the pine tree in every direction from the base. Measure it out, and then start moving patio furniture, cars, garden gnomes—and especially people and pets. This zone has to be a strict no-go area for anyone not directly involved in the felling process.
Properly documenting and mitigating all the potential hazards is a crucial step. To get this right, you should conduct a thorough risk assessment. You can consult this practical guide to creating effective risk assessment forms to make sure you don’t miss anything.
Permits and Final Checks
Before you even think about making that first cut, take a moment to check with your local municipality or homeowners’ association about permit requirements. Many communities have regulations for removing trees over a certain size, and ignoring this step can lead to some seriously hefty fines.
Finally, and this is a big one: never attempt a tree removal project alone. Always have a spotter with you. This person’s only job is to watch the top of the tree and your surroundings, ready to yell a warning if there’s any unexpected shift or danger.
Before starting the engine, you and your spotter need to agree on two distinct escape routes. These should be cleared paths leading away from the fall direction at a 45-degree angle. This gives you a safe and immediate way out if things suddenly go sideways.
Mastering the Art of a Controlled Fall
This is where the real skill comes in. Felling a tree is a calculated dance between physics and finesse, all aimed at bringing that massive pine down with pinpoint accuracy. The goal isn’t just to chop it down; it’s to control its descent from the first cut to the final landing, ensuring it settles exactly where you planned.
The whole operation rides on a professional technique known as the three-cut felling method. It’s the gold standard for a reason—it is hands-down the safest and most reliable way to dictate where that tree is going to land. It all starts with picking your spot.
The Directional Notch and Hinge
Your first move is to carve out a directional notch, sometimes called a face cut. Think of it as a wedge-shaped slice on the side of the tree facing your fall zone. You’ll make a downward-angled top cut and a horizontal bottom cut to meet it, pulling out a chunk of wood. This simple notch is what physically forces the tree to fall in that one specific direction.
With the notch done, you’ll move to the opposite side of the trunk for the felling cut, or back cut. This is a straight cut that comes in just a bit higher than the flat bottom of your notch. But here’s the most critical part: you don’t cut all the way through.
You have to leave a strip of uncut wood between the back cut and the notch. We call this the hinge.
Think of the hinge as the steering wheel for the falling tree. It’s what guides the trunk down, preventing it from twisting, splitting, or kicking back dangerously off the stump. A good hinge is the single most important part of a controlled fall.
Executing the Felling Cut Safely
As you make that back cut, you’ll feel the tree start to lean. That’s the point of no return. You need to be ready to move, and move quickly, down your planned escape route the second you hear that crack or feel the tree start to give.
Sometimes, a pine gets stubborn and leans back, pinching your chainsaw bar. This is where felling wedges are a lifesaver. As you cut, you can drive a few plastic or metal wedges into the back cut. This keeps the pressure on and helps nudge the tree in the right direction, all while keeping your saw from getting stuck.
Before you even think about starting the engine, though, your prep work should already be done.
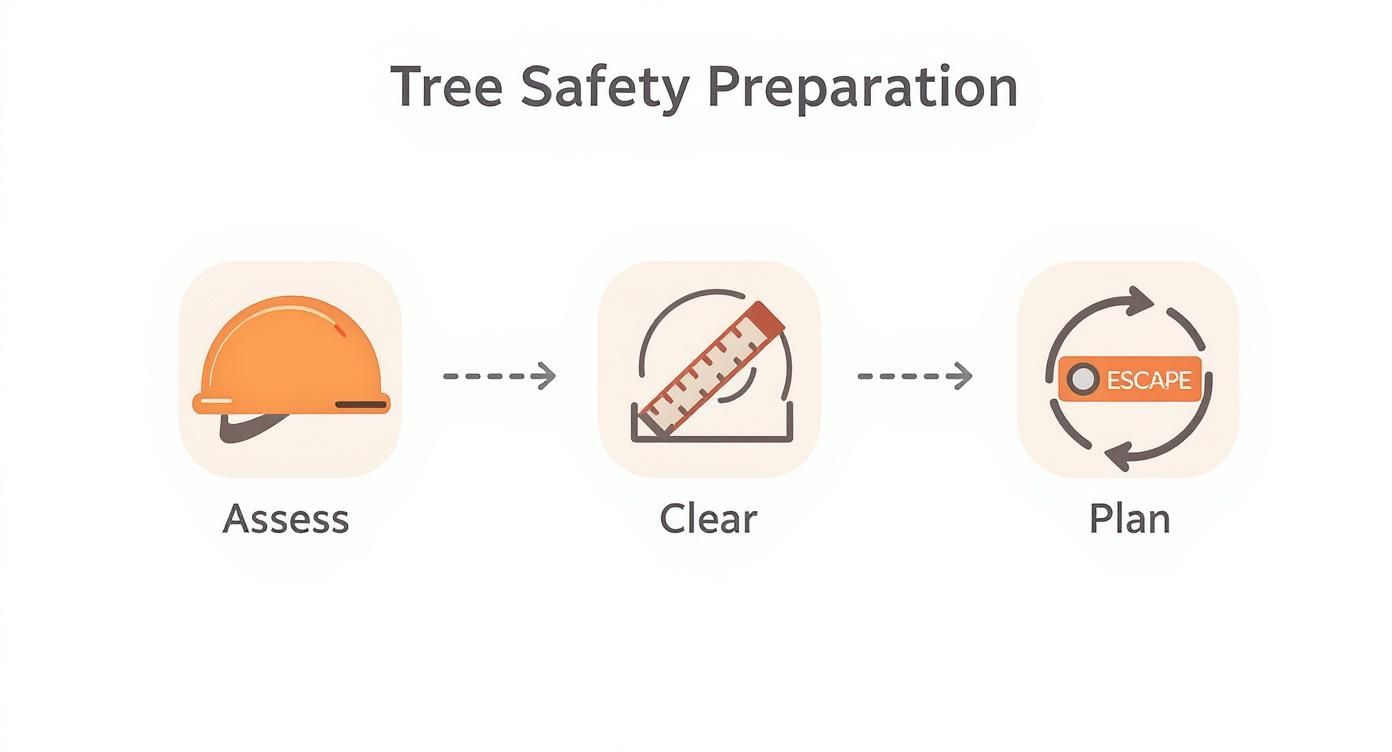
This little flow chart drives home a key point: cutting is the last step in a much bigger safety process. Every piece builds on the last to make the whole operation as controlled and predictable as possible.
From Felling to Processing
Once the pine is safely on the ground, the job shifts from felling to processing. Now you’re focused on two main tasks: limbing and bucking.
Limbing is just what it sounds like—removing all the branches from the trunk. For safety and to keep your saw from getting pinched, always start at the base of the trunk and work your way toward the top.
Bucking is the final stage, where you chop the main trunk into smaller, more manageable logs. These could be short firewood-length pieces or longer sections you can haul away more easily.
It’s worth remembering the scale of all this. Globally, it’s estimated that between 3.5 billion and 7 billion trees are cut down every year, which has a massive impact on everything from wildlife to climate. Pines, often grown in huge timber stands, are a big part of that number. You can find more global tree felling statistics on gotreequotes.com. It puts things in perspective and really underscores the importance of making sure we only take down trees around our homes when it’s truly necessary for safety or property management.
Handling the Aftermath of Debris and Stumps
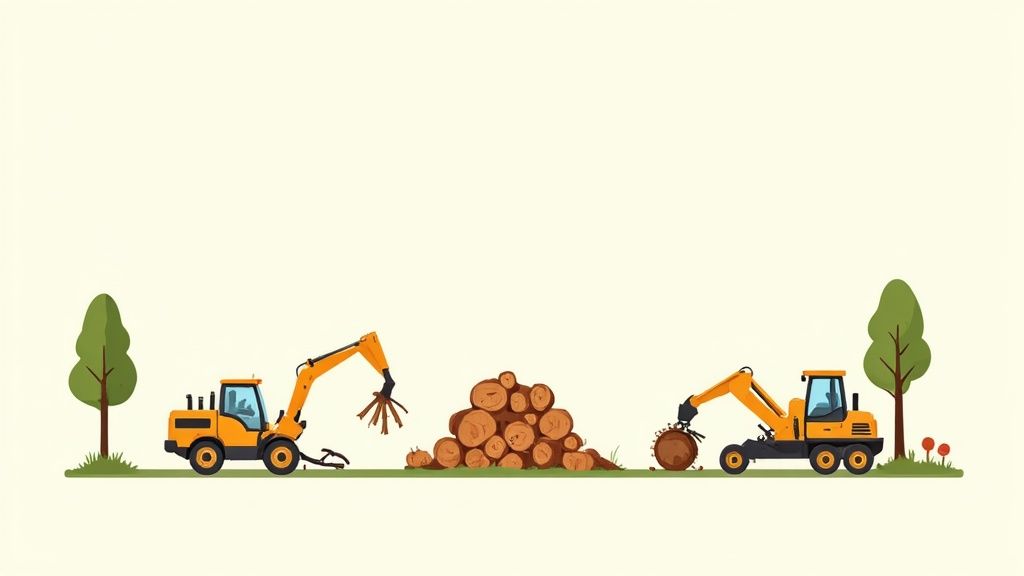
With the pine tree safely on the ground, a new challenge emerges: the mountain of branches, needles, and heavy logs. This cleanup phase is just as important as the felling itself, transforming your yard from a work zone back into a usable space. You’ll need a solid plan to tackle this efficiently.
For the countless smaller branches and limbs, renting a wood chipper is often the most practical solution. In just a few hours, you can turn a messy pile into a valuable resource. The resulting wood chips make excellent, natural mulch for garden beds, helping to retain soil moisture and suppress weeds.
Managing Logs and Large Debris
The main trunk presents a different kind of challenge. If you have a fireplace or outdoor fire pit, cutting the logs into manageable rounds for firewood is a great option. Just remember to stack the wood in a dry, well-ventilated area for at least six to twelve months so it can properly season before you burn it.
If firewood isn’t in your plans, you’ll need to arrange for disposal. Given the sheer volume of wood and branches, a practical guide to skip hire for garden waste can be a lifesaver. Alternatively, many local waste services offer special pickups for large yard debris, though it’s wise to check their specific size and volume restrictions beforehand.
This final step is more important than you might think. Between 2001 and the present day, approximately 34% of global forest loss has been classified as permanent, often due to land-use changes after tree removal. Responsibly managing the debris is a small but meaningful part of ensuring the land can be reclaimed and revitalized.
Addressing the Leftover Stump
After the debris is cleared, one final obstacle remains: the stump. Leaving it in place can be a tripping hazard, attract pests like termites and carpenter ants, and prevent you from fully reclaiming the area for your lawn or garden. You generally have three paths forward for dealing with it.
A lingering stump is more than just an eyesore; it’s an open invitation for pests and decay. Proper stump removal is the final step in truly completing your pine tree removal project and restoring your landscape.
Your main options for stump removal include:
- Stump Grinding: This is the fastest and most common method by far. A powerful machine grinds the stump and major roots down several inches below the soil surface, leaving behind a pile of wood chips you can use as mulch. You can rent a grinder for a DIY approach, but hiring a professional is almost always a faster, safer bet.
- Chemical Removal: This method involves drilling holes into the stump and filling them with a potassium nitrate-based product. Over several months—sometimes up to a year—the chemicals accelerate the wood’s decay, making it soft and spongy enough to be broken apart with an axe. It’s a low-effort but very slow process.
- Manual Removal: For very small pine stumps, you might be able to dig and cut them out by hand with a shovel, axe, and saw. Be warned: this is extremely labor-intensive and is generally not recommended for anything but the smallest of trees.
Each of these methods comes with its own set of challenges and benefits. For a deeper look at the process, check out our guide on how to remove tree stumps effectively.
How to Hire a Reputable Tree Removal Service
When a pine tree is just too big, dangerously close to your home, or tangled up in power lines, a DIY job is completely off the table. This is when you bring in the professionals.
But here’s the thing: not all tree services are created equal. Choosing the right one is absolutely critical for a safe and successful removal. Your goal is to find a crew that lives and breathes safety, carries the right insurance, and has the real-world expertise to get the job done without a scratch on your property.
The first step in finding a qualified crew? Verifying their credentials. This part is non-negotiable.
Verifying Credentials and Insurance
Before you even start talking numbers, you need to ask for proof of two crucial documents: liability insurance and worker’s compensation.
It’s simple. Liability insurance covers any damage to your property during the job. Worker’s comp protects you from being sued if a crew member gets hurt on your watch. Any reputable company will hand these certificates over without a second thought.
Next, look for certifications. The gold standard in our industry is having an ISA (International Society of Arboriculture) Certified Arborist on the team. This certification is proof that they have a deep, professional understanding of tree biology and safe work practices. When a company invests in that level of training, it tells you a lot about their commitment to quality. If you want to make sure you’re hiring true experts, you can learn more about finding certified arborists near me.
Never, ever hire a company that can’t immediately show you proof of both liability and worker’s compensation insurance. A “great deal” can quickly turn into a financial nightmare if an accident happens.
Getting Quotes and Spotting Red Flags
Always get at least three detailed, written quotes. This isn’t just about comparing prices; it’s about comparing the scope of work. A professional quote will break down every single part of the job, leaving no room for surprises.
Make sure you ask some direct questions:
- Does this quote cover the full cost of the pine tree removal?
- Is hauling away all the wood and debris included in this price?
- What about stump grinding? Is that part of the package or a separate charge?
Finally, you have to be wary of the common red flags that signal a less-than-trustworthy operator. Avoid any company that uses high-pressure sales tactics—especially the door-to-door guys who “just happened to notice” a “problem” tree in your yard.
Be just as skeptical of anyone demanding full payment before the work starts or offering a price that’s drastically lower than everyone else’s. These are almost always signs of a company that’s cutting corners on insurance, equipment, or safety.
Got Questions About Pine Tree Removal? We’ve Got Answers.
When you’re looking at a pine that needs to come down, a lot of questions probably pop into your head. It’s totally normal. Knowing what to expect—from the final bill to what happens with all that wood—is key to planning a smooth project. Let’s tackle some of the most common things homeowners ask us.
First up, the big one: cost. The price for a professional pine tree removal can swing pretty wildly, from around $400 for a small, easy-to-reach tree to upwards of $2,000 for a monster pine looming over your house or tangled in power lines. What you’ll actually pay boils down to a few key things: the tree’s height, where it’s located, how tricky the job is, and if you want the crew to haul away the debris and grind the stump.
The Best Time to Act and What to Do with the Wood
People often wonder if there’s a “best” time of year to take down a pine. If a tree is a clear and present danger, the best time is now, no matter the season. But if you have the luxury of planning, late fall or winter is often your best bet.
With the ground frozen solid, there’s far less risk of heavy equipment tearing up your lawn—a major plus. It also helps that any nearby deciduous trees will have dropped their leaves, giving the crew a much clearer line of sight to work safely and efficiently.
So, what about all that leftover wood? Can you use it? Absolutely. Once it’s properly seasoned, pine is fantastic for a backyard fire pit.
If you want to keep the wood, just let the removal team know you want them to leave the larger logs. To get it ready for burning, you’ll need to do a few things:
- Cut the logs into standard firewood-length pieces.
- Split them to help the air get in and dry them out.
- Stack the split wood somewhere dry with good airflow for at least six to twelve months.
This seasoning step is non-negotiable. It pulls the high moisture and sap content out of the wood, which is what you need for a clean, effective burn instead of a smoky, sizzling mess.
For a safe, professional, and hassle-free pine tree removal anywhere in the Atlanta area, from Cumming to East Cobb, you can trust the certified arborists at Richmond Tree Experts GA. We have the right experience and equipment for any project. Contact us today for a free estimate!
Not sure what your tree needs? Richmond Tree Experts has worked on Marietta and Metro Atlanta trees since 1985, and every job is looked at by an ISA Certified Arborist before it is priced. Start with an ISA Certified Arborist evaluation, or see everything we do: tree removal, stump grinding and arborist services across Cobb, Fulton, Cherokee, Gwinnett and DeKalb counties (service areas).
Call (770) 974-3964, 7am to 11pm every day, or request an estimate online.

